Yellow Mirror
- Colour Accuracy: Order samples here. Allow for minor colour variation from your monitor to real life; all screens display colours differently.
- Protective tape can vary between brown paper film, white masking tape and clear or blue plastic tape.
Turn Around: Generally a 1-4 business day turn around. Need it really quick? Message us and we'll do our best :) (we are a tiny team, so kind messages are very welcome)
Bulk Discount:
Automatically applies at checkout
Description
- Just likestandard 'real' glass mirror, only shatterproof and available in a variety of colours.
- Typically only has protective tape on the front (less to peel, yay!).
- Has a mirror side that shows the 'colour', and a backing side that's typically grey (just like standard glass mirrors).
The Specs
- Maximum usable area: 595mm x 295mm.
- Maximum sheet size: Approx. 600mm x 300mm.
- Price Range: $$$ High.
- Thickness: 3mm (± 10%). Silver is also available in 2mm.
- Finish: Smooth high gloss finish on the front, plain matt finish on the back (is typically grey, just like standard glass mirrors).
Good to Know
These traits are typical of this material (and not something we consider a fault). Here we try to share with you everything we know about this material; we'd like to empower you with this information so that you may embrace it, and design within the scope of the manufacturer features.
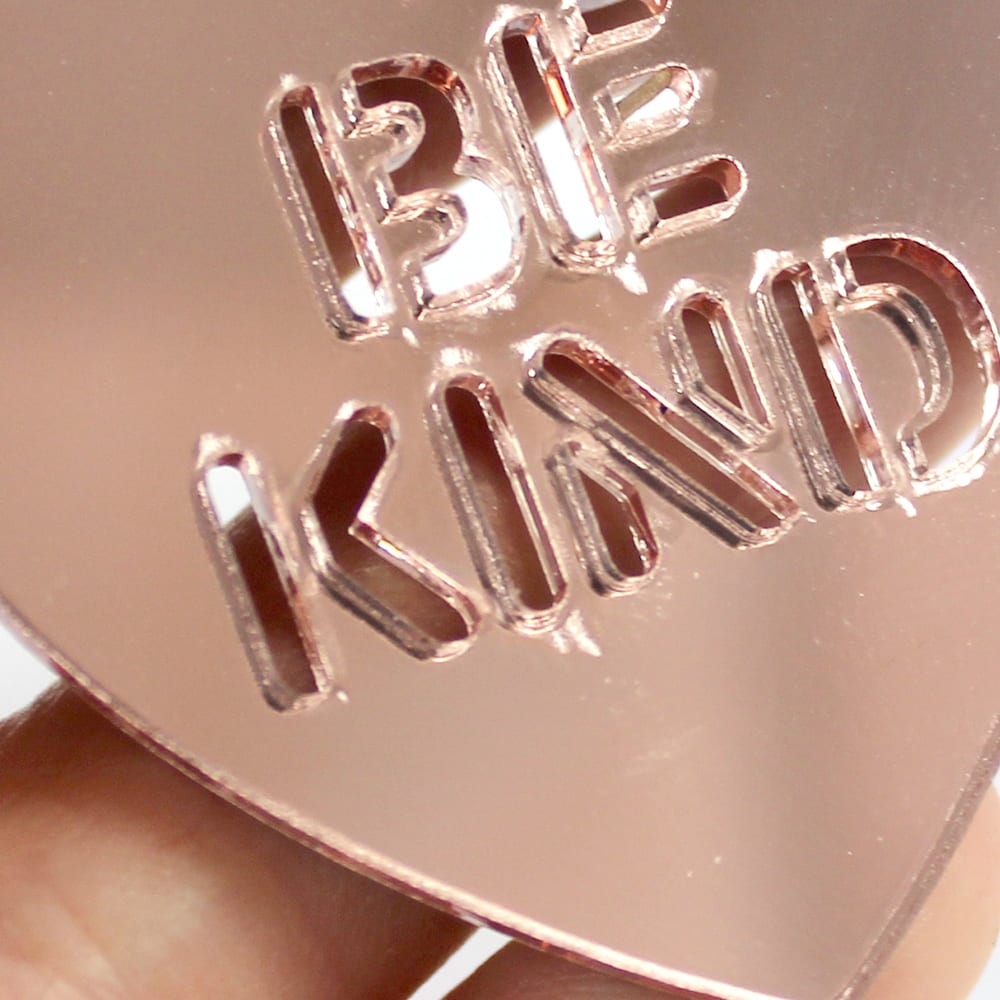
'Frosting'
We find that some parts can get a frosted surface near a cut edge. It looks sort of like a little flame flicker that frosts the mirror's reflective appearance.
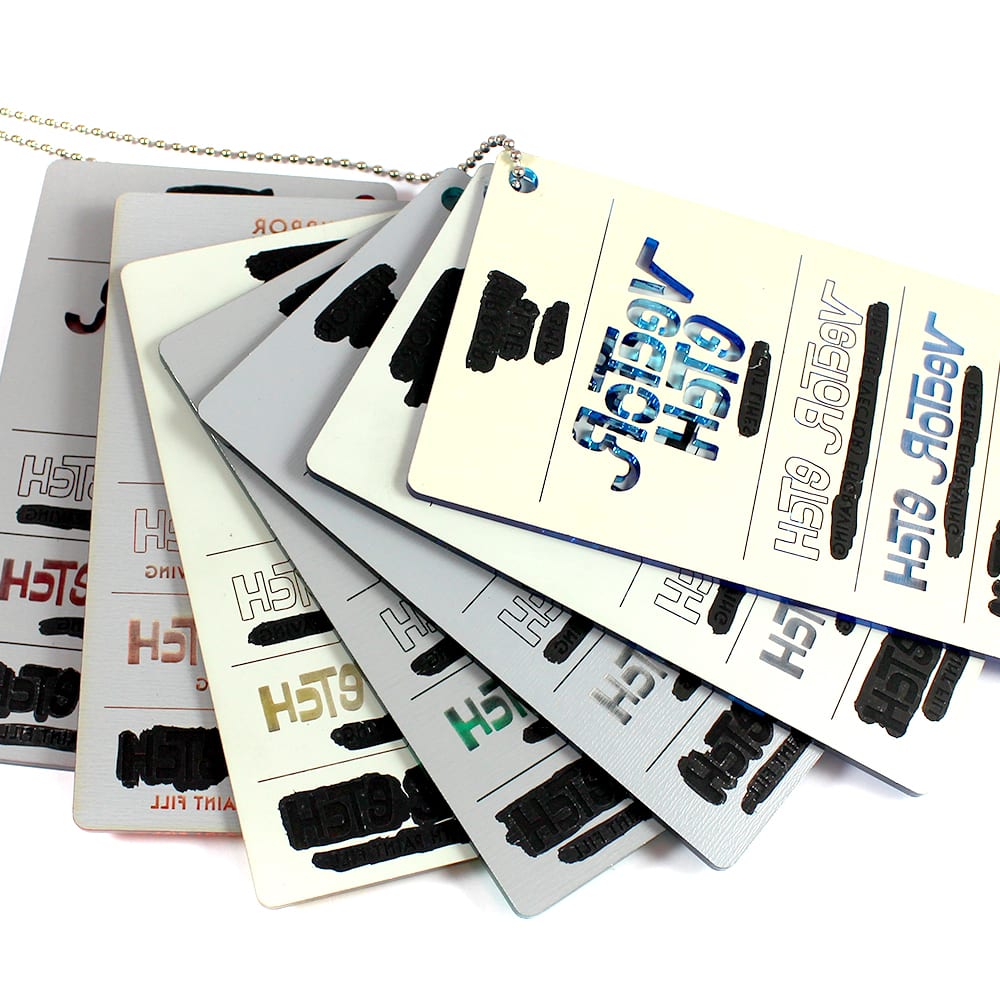
Plain Backing
The colour on the back of the mirror can vary (is typically light grey). Because it doesn't have protective tape, it can sometimes have marks on it (this doesn't show through to the actual mirror front, but it's something to consider for pieces where you may see the back).
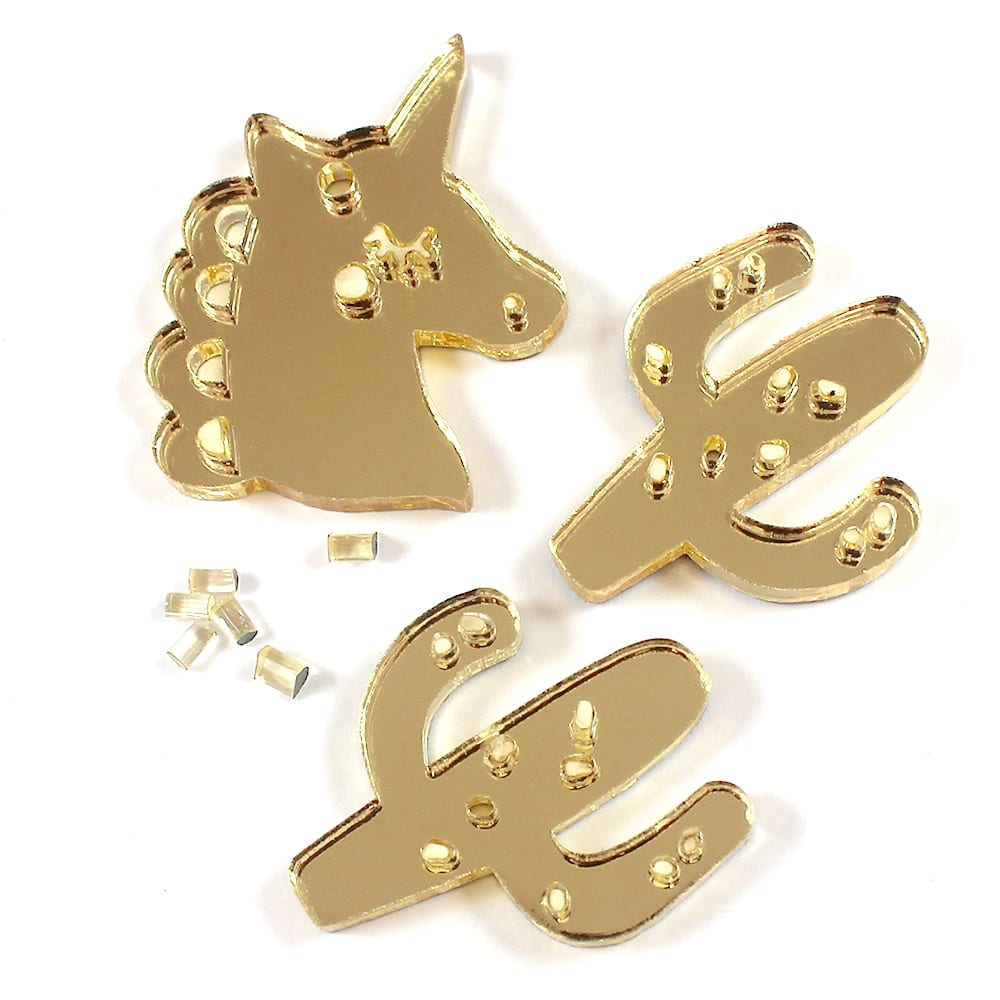
Small Internal Cuts May Need to be Pushed Out
When mirror is laser cut it sort of re-melts back together a little. This means that small internal cut outs around 2mm or smaller can present a challenge to push out (tip: a skewer works well to assist).
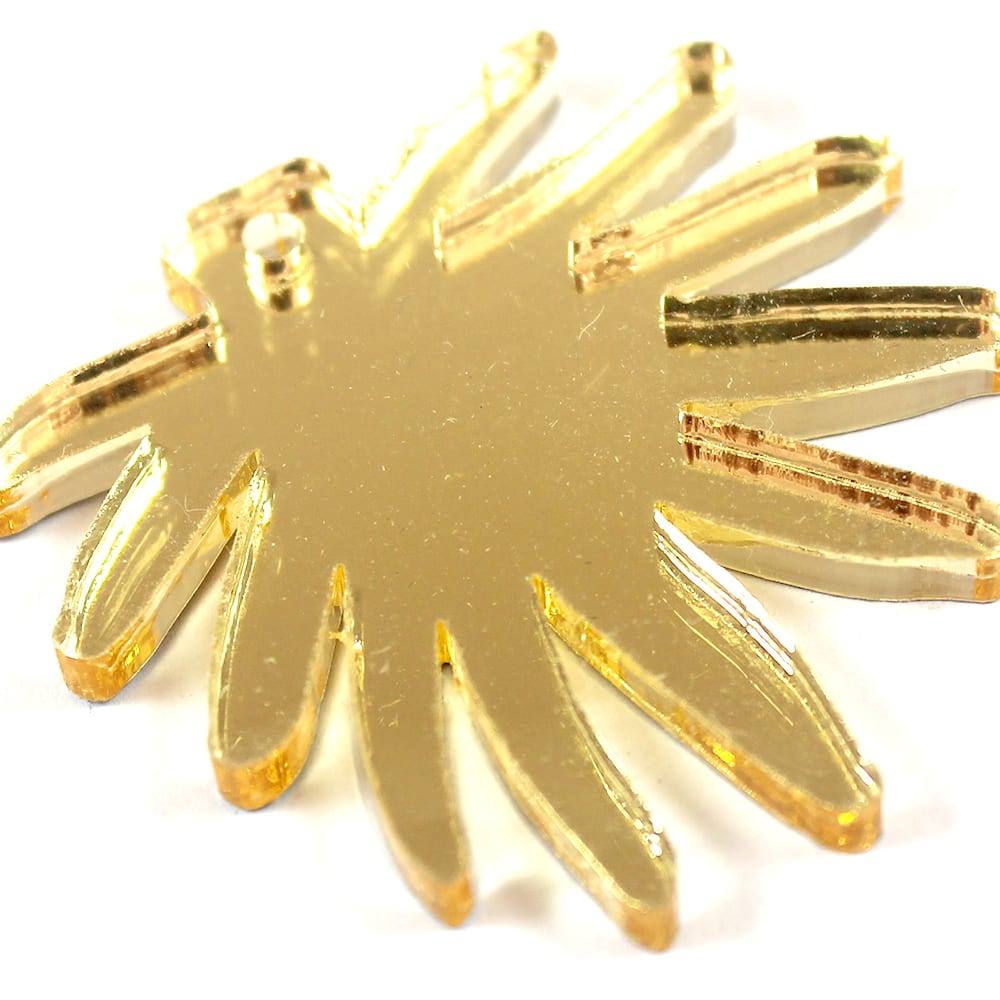
Will Show Dust
Mirror is particularly good at showing up any marks/fluff/scratches/etc. Our advice is to peel your pieces as late in your making process as you can (e.g. do as much assembly as you can with the tape still on) before peeling and sealing your pieces into something protective, like a cellophane bag.

May Show Glue
We commonly receive feedback that glued on components (such as earring posts and brooch backs) can show through to the front of the mirror (such as the act of gluing the components on makes an impression into the mirror layer). It's minor and inconsistent, however be aware and always do a test piece before gluing en masse.
Challenging to Photograph
If you intend to sell your finished pieces online, consider how you might photograph them. We find it helpful to hold up a piece of white paper (so that the piece/s reflect off the paper and not off your camera!). Videos also work amazingly for showcasing mirror acrylic.
Cleaning
Unlike our other acrylics, we advise against cleaning mirrors with an alcohol-based cleaner. This may causing cracking, or "crazing" damage to the surface of your pieces. Instead, we recommend you use just a clean micro-fibre or jewellery cloth.
Recommended Uses
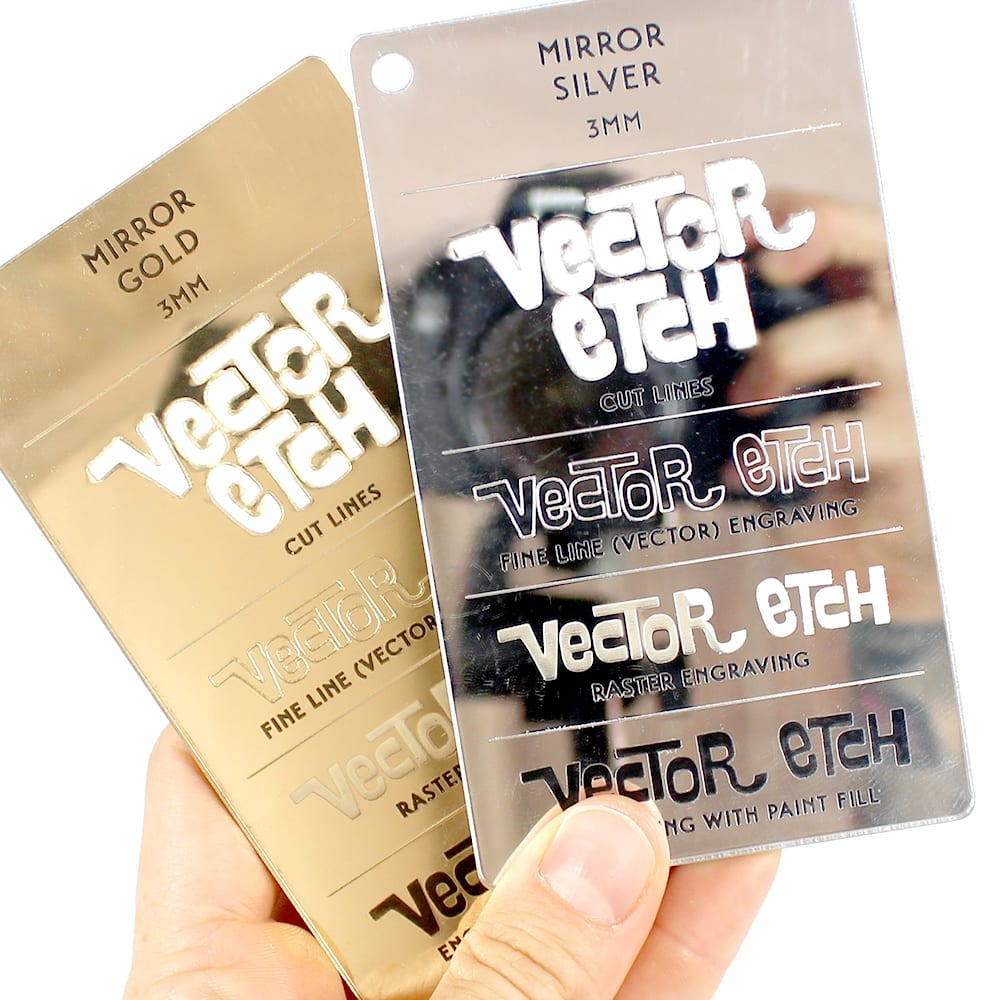
- Typically doesn't have protective tape on the side that is engraved (the back for mirror - we reflect your design/s for you!), which means that mirror acrylic is IDEAL for detailed engraving and all over engraved patterns (as there's simply less peeling to do!).
- Best for designs that don't have too many small internal cut outs (as they will be difficult to push out).
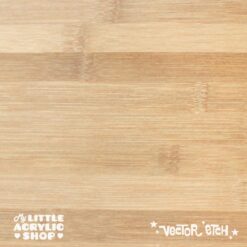
- Looks great when paired with natural finishes like bamboo, as the contrast between shiny/made-made vs. natural, soft textures is highlighted.
More Information
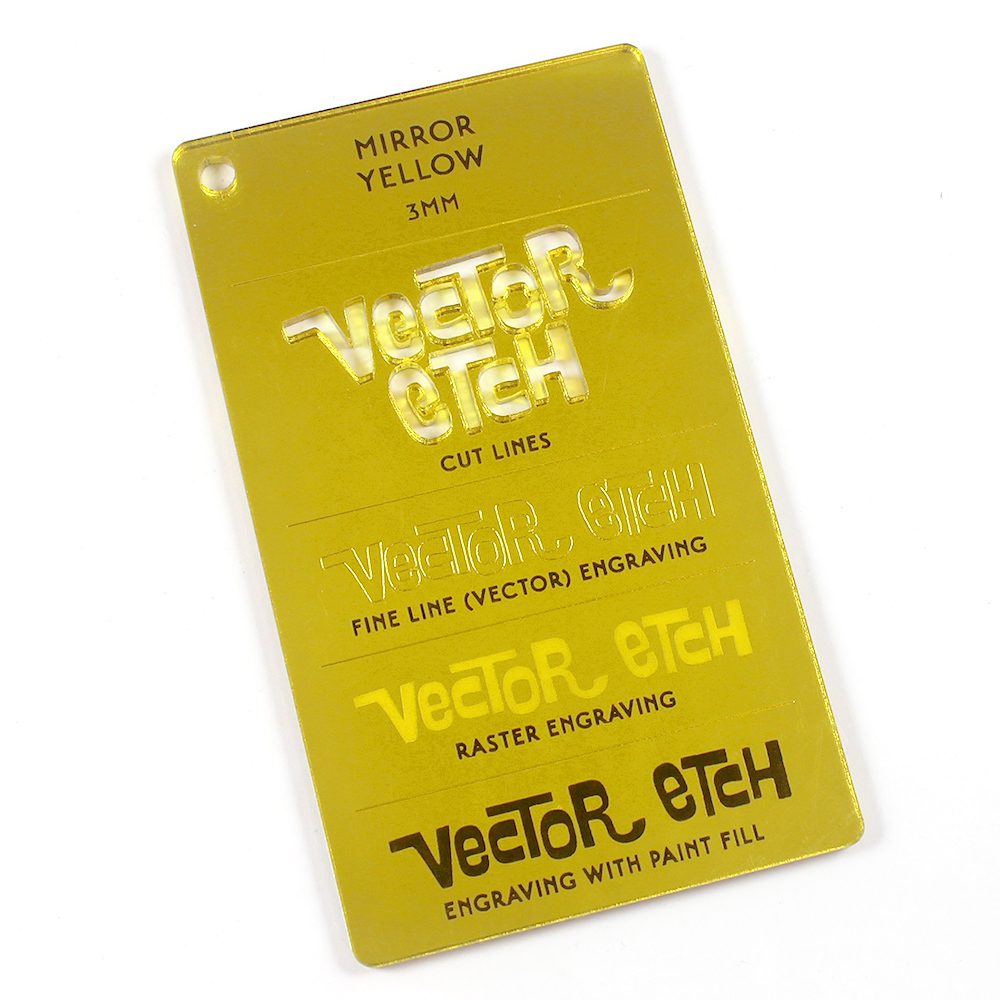
- Cuts well and leaves a clean, smooth edge line that typically shows the core colour on the sides.
- Engraved areas tend to go a frosted white colour when engraved. Paint fill can be done on mirror, but it will 'bleed' out at the back (see images below for reference).
- Comes with a protective tape coating that will need to be peeled off.
- It is difficult to capture colour correctly; allow for slight variation from monitor to reality.
- The thickness of materials can vary, so creating 3D interlocking designs that fit snug together may be challenging.
Want to see it in real life?
Order a sample swatch
Want to order a sheet?
Order a sheet from My Little Acrylic Shop
| Weight | N/A |
|---|---|
| Dimensions | N/A |
| Sheet size | 600mm x 300mm, 450mm x 300mm, 300mm x 300mm, 150mm x 300mm |
